Cultivation Archives
Most modern cannabis is photoperiod cannabis.
Most cannabis plants you’ve seen, heard about, or smoked were photoperiod plants, or “photos.”
Photos, unlike autoflowers, require a change in light to bloom (from long days to short).
In many cases, photos have been the primary focus of modern breeding efforts, resulting in significant advances in quality that have become “industry standards” such as bud density and structure, terpene profiles and complexity, and hashability (lines being worked for extraction).
Whether it’s your first time growing photos indoors, first time growing photos at all, or you’re just looking for ways to improve, this article offers a few of my top tips to help you get the most out of your grow.
The Biggest Mistake Cannabis Growers Make With Photoperiod Cannabis Seeds
The most common mistake growers make with photos is poor light control.
Since photoperiod plants rely on lighting queues, changes matter.
Often, light problems come from:
- Timer Issues: Most commonly accidents setting the timer and/or timer failures that result in lights turning on or off at unplanned times.
- Power Outages: Storms, construction, and freak accidents can cause power outages to your home or neighborhood, which affect the lighting cycle of your photoperiod plants.
- Light Leaks: The most preventable cause, light leaks are often the result of pinholes in your grow tent or a grow room that is not fully sealed against ambient light. Additionally, LEDs on timers, surge protectors, and fans can be sneaky culprits that introduce unwanted light.
- Poor Lighting: Weak lights that are not delivering enough light, strong lights delivering too much light, or lights that don’t provide a quality spectrum. Quality lights will make a big difference in your grow, as will replacing them at recommended intervals to avoid quality loss as components age.
Any one of these can cause unwanted results, but a combination is guaranteed to cause issues if you’re not prepared.
Unlike autoflowers, which grow on their own timeline regardless of lighting, photoperiod plants need quality lighting during specific intervals to make it to harvest.
Avoid lighting issues and other common mistakes with these 12 tips to help you get the most out of your next round of photos:
12 Pro Tips for Growing Photos From Seed
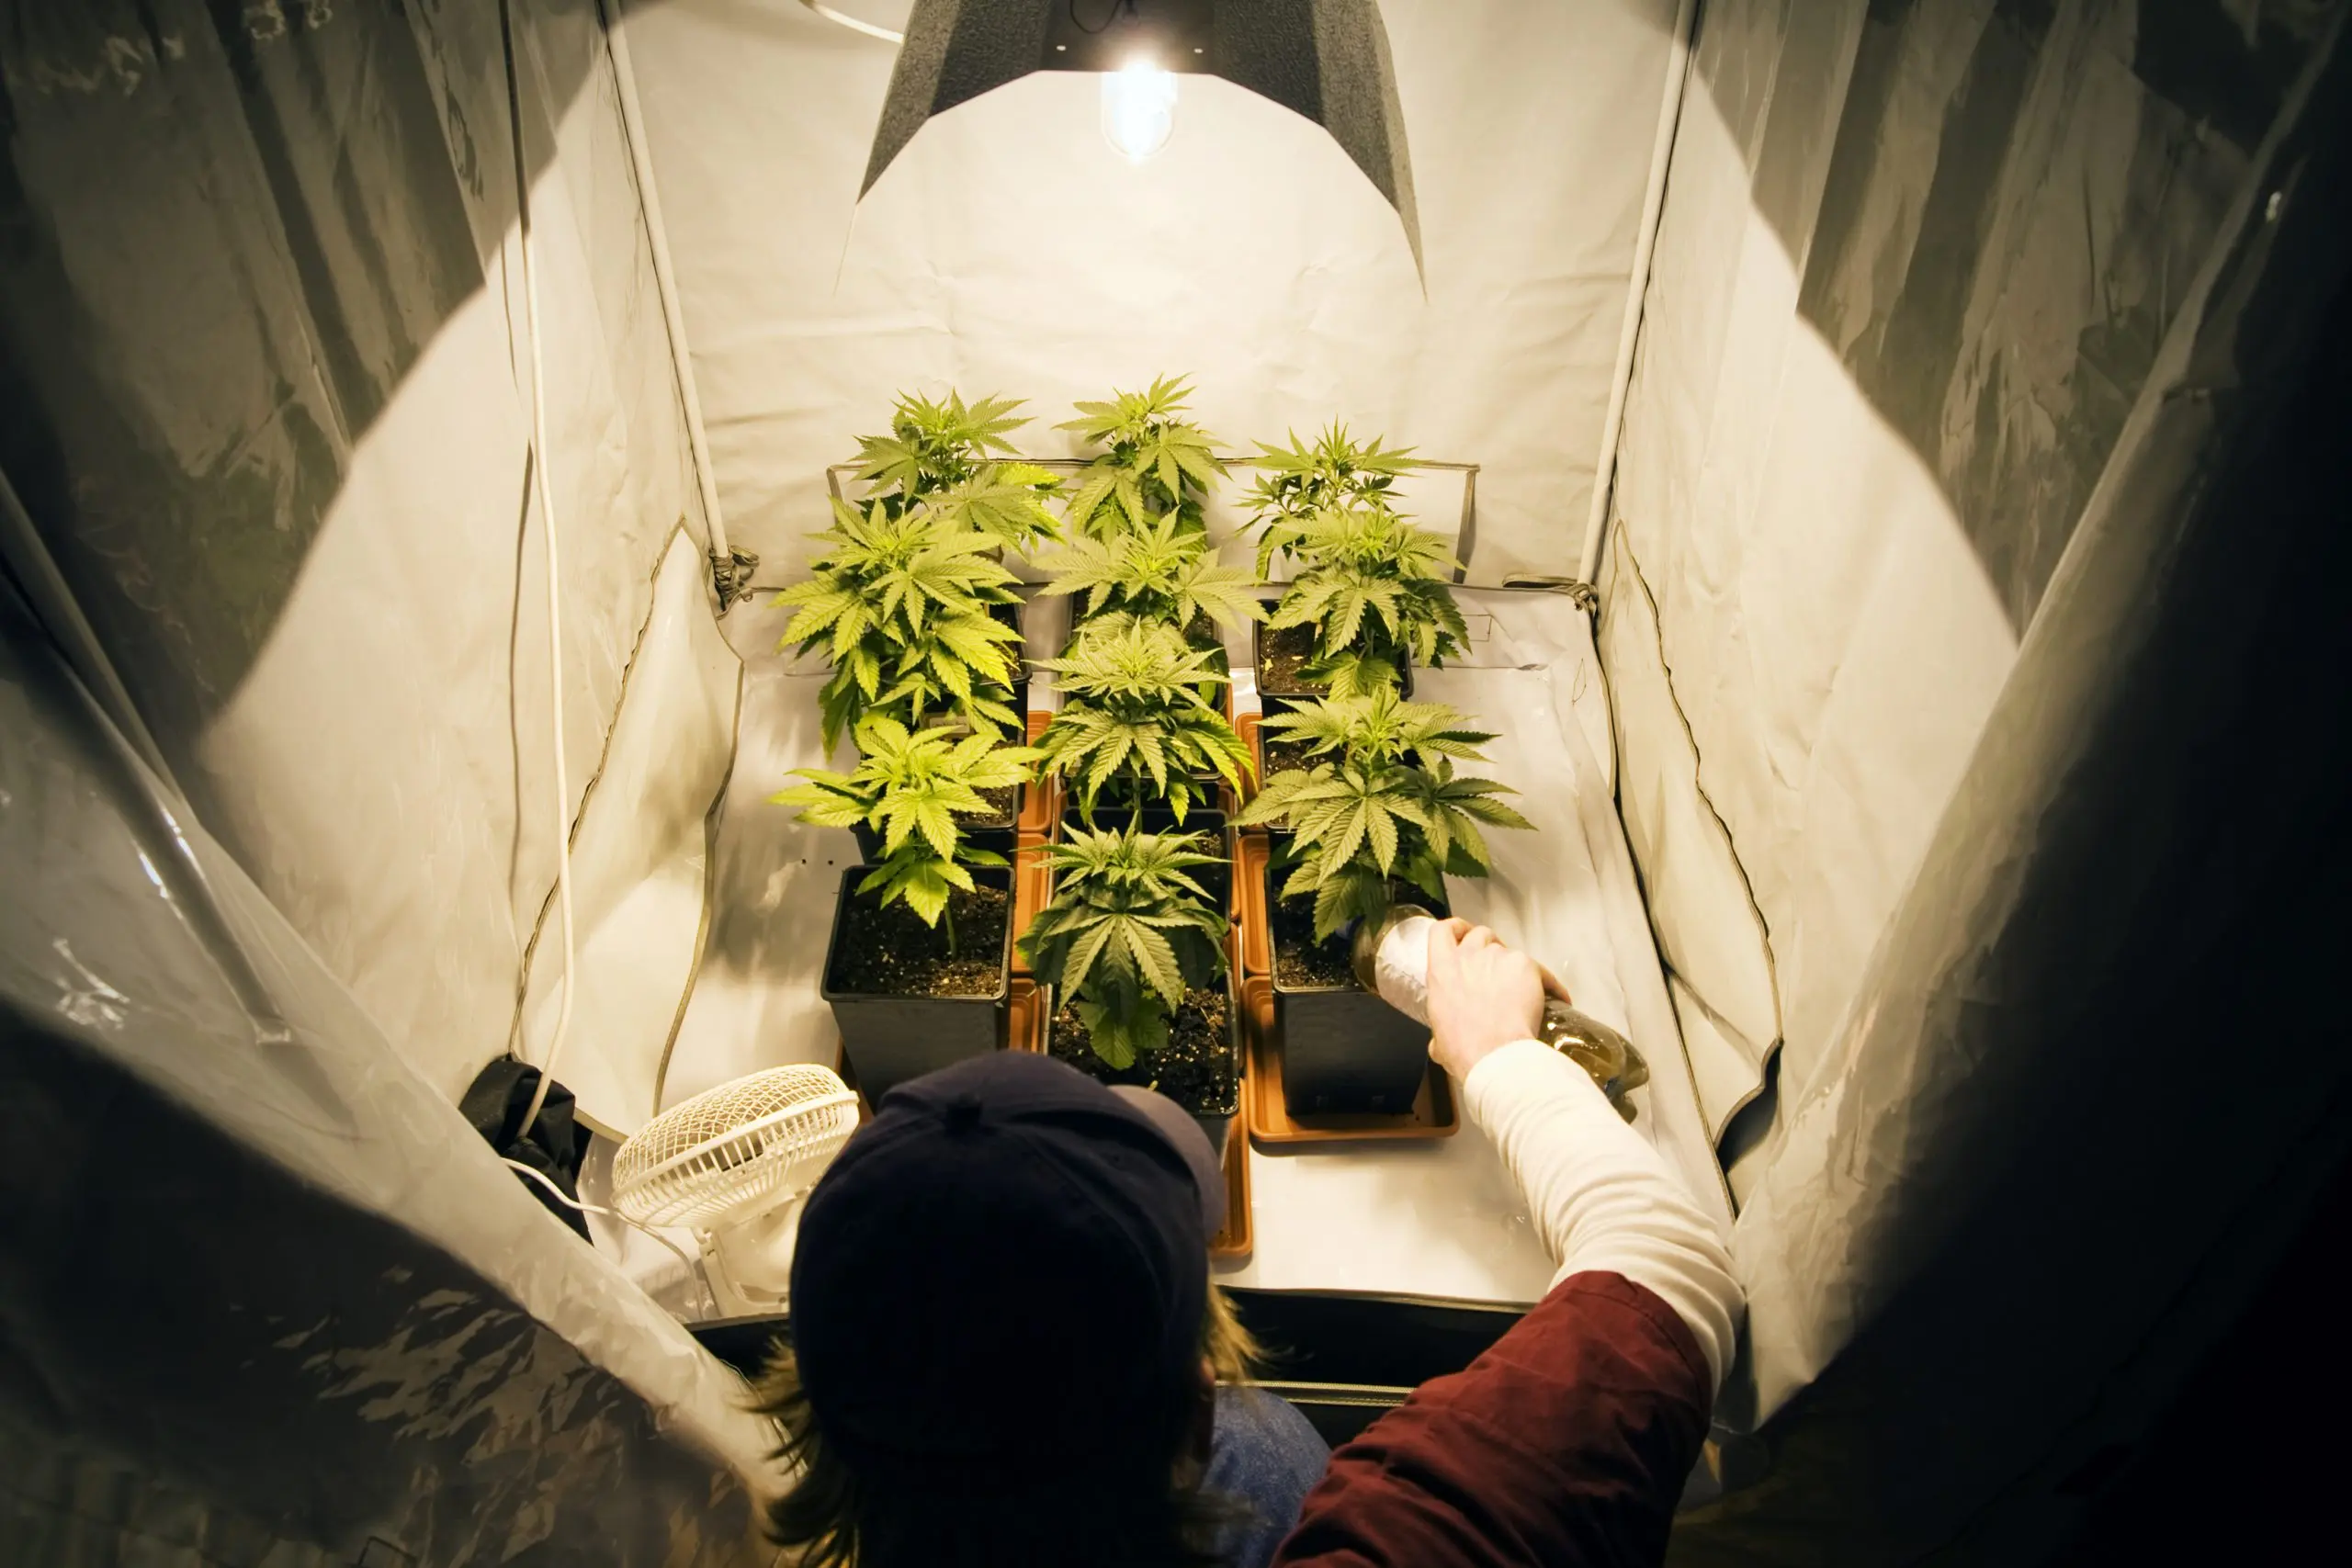
1. Flipping (”Flip”)
Photos require you to “flip” the lights from a longer day (typically 16-18+ hours) to a shorter day (typically ~12 hours) to trigger flowering.
In nature, this happens as the season changes, but indoors, you must do this manually to induce flower.
If you never change your lights, your plant won’t flower like it would with an auto or in an outdoor setting.
Once you change your lights, don’t change them again until you harvest (otherwise you could send confusing signals to your plant, resulting in weird growth or a plant that begins to re-veg, returning to its vegetative state, ceasing flower production).
2. Light Quality is Key
Light quality is a combination of intensity and spectrum.
You need to make sure you are delivering your plants as much light as they can handle to reduce stretching, while being careful not to overdo it and stress your plants out.
Ideally, you’re looking to ramp up to around 1000 µMole (800-1200 range) by the time you flip your plants to flower, maintaining these levels until just before harvest, when many growers dim their lights back to lower levels (400-800 µMole).
Additionally, you want to ensure that you are delivering a quality spectrum mix of light (reds, blues, greens, yellows, oranges, etc.).
Tip: When shopping for lights, compare spectrum graphs to see how different lights deliver different ranges of light to your plants.
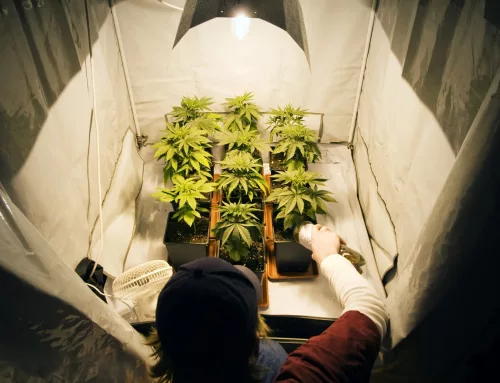
3. Beware of Light Leaks
As touched on above, photoperiod plants are light-sensitive.
If it’s nighttime in your tent or room, but your plants are getting little shoots of light from stray LEDs or pinholes in an unsealed space, these can cause undesirable growth that affects your production timeline as well as your harvest results.
Trust me, I had an entire tent end up stretchy and underdeveloped because they were getting light when they weren’t supposed to. The buds weren’t pretty, and yields were low.
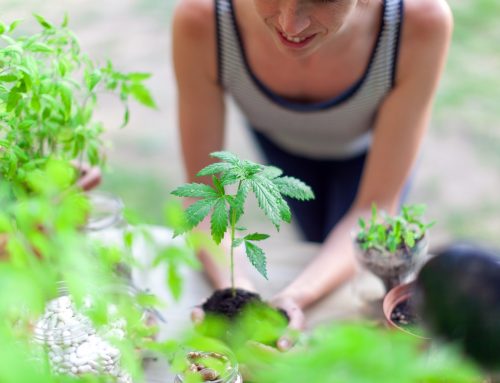
4. Take as Much Time as You Need.
Photos are more forgiving than autoflowers because you control their life cycle.
This allows you to keep a plant in veg until it bounces back from stress or shock from transplanting, IPM applications, power outages, heat stress, light stress, etc.
You are not on a fixed schedule like you are with autos or outdoor grows.
If your plants aren’t ready, give them the time needed to get there.
But at the same time…
5. Maintain Momentum
As nice as it is to have the extra time, you don’t want to abuse it.
Keeping plants in too small of pots for too long, or keeping them in veg for long periods (6+ months) will result in unhappy, often unhealthy plants.
Unhealthy plants slow growth down, and become susceptible to pathogens and pests.
Remember: Plants grow best when they don’t have to stall, stay put, and restart, and instead can continue to gradually accelerate.
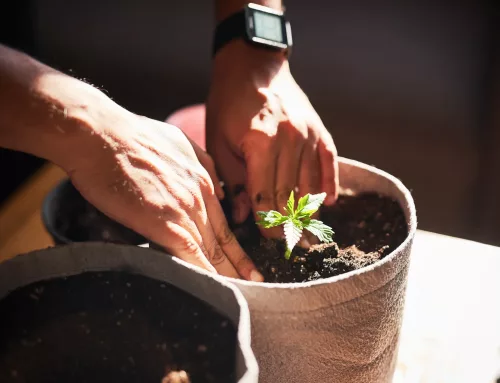
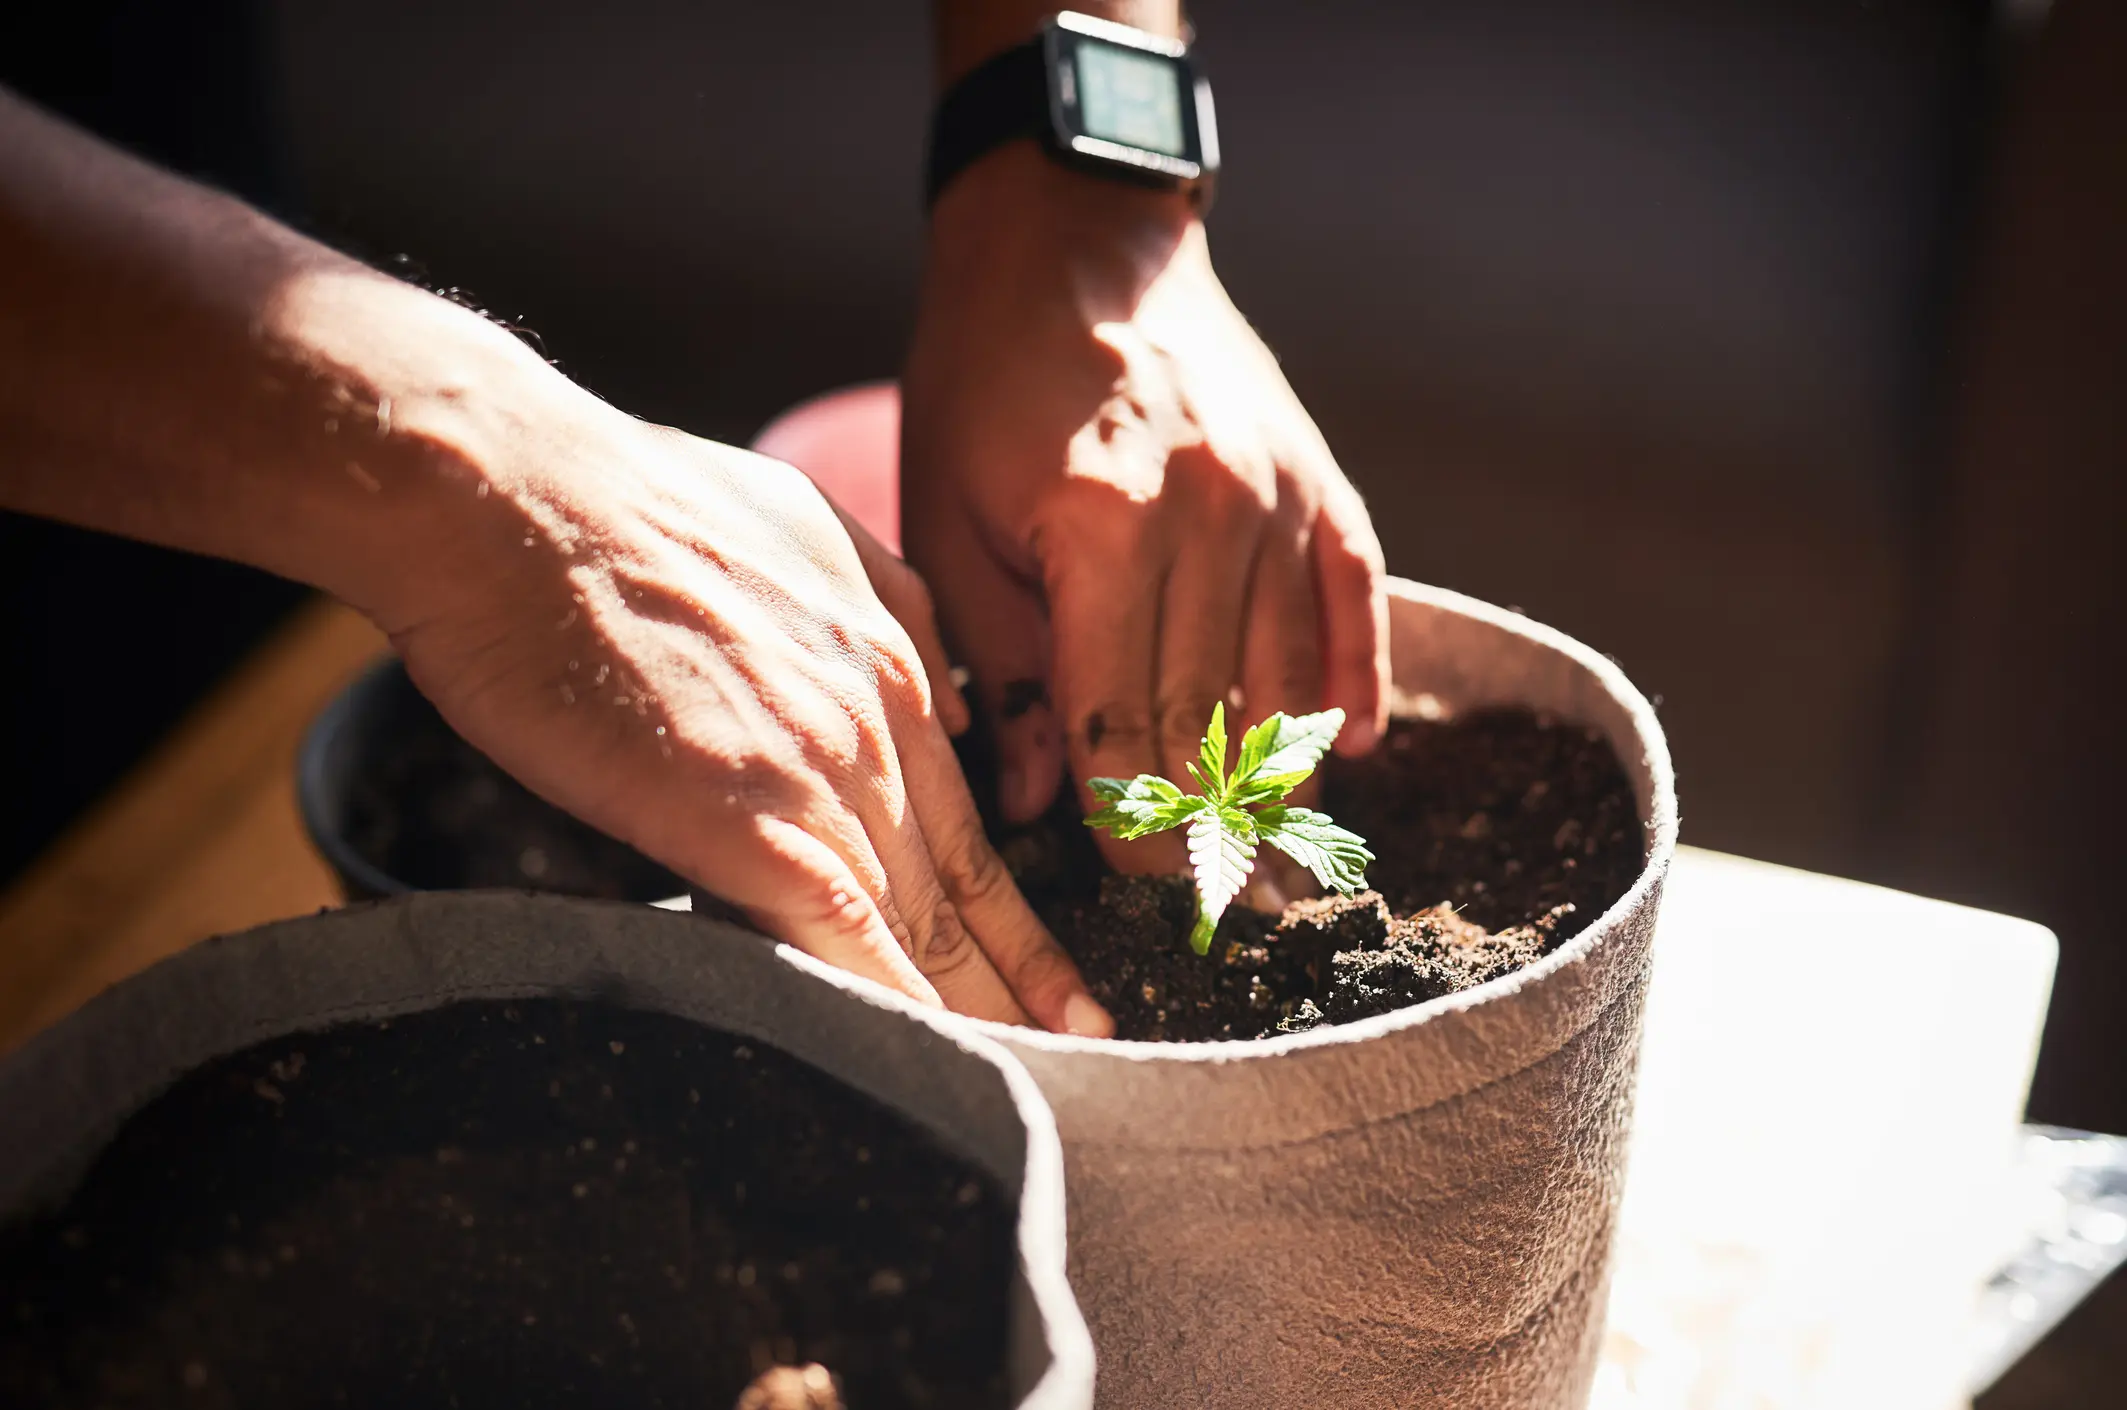
6. It’s Ok to Transplant (And Encouraged)
Unlike autos where it is recommended to start by planting in your final pot, photos can be planted in small containers and gradually up potted to larger size pots as needed.
Allowing a photo plant’s roots to fill its space before up potting is healthy for the plant, and encourages the plant to get the most out of its root zone.
Photos have more time to bounce back from stresses like transplant shock since they aren’t on a fixed timeline.
Plus, unlike autos, photos won’t signal to start the flowering process when their roots signal that they’ve filled your container. (But they will get angry if you let them get root bound and stay that way).
7. Start with Feminized Seeds
Feminized photoperiod seeds are the easiest introduction to photos because they don’t require sexing, and you know you’re going to get a female plant 99.9% of the time.
There is no guesswork. No sexing. No “balls” or other male traits to try to identify.
Plus, you won’t deal with the pollination risk of surprise males popping up when you flip.
8. Not Every Cut Is a Keeper.
There is a temptation when you start growing to believe every plant is a winner.
It’s not.
Photoperiod plants, unlike autos, can be cloned (see #12) and kept indefinitely.
But there is a significant cost to cloning and maintaining genetics, and you don’t want to be investing in keeping lackluster genetics around.
The fear of losing something special is common among growers, and we often overextend ourselves as a result, keeping plants unnecessarily and stressing about losing others.
Don’t.
Especially in the beginning of your journey.
Instead, pop seeds. Explore varieties. Get to know what you’re looking for.
Then you can start picking keepers.
Chances are it’s not the unicorn you think it is.
And worrying about cloning will create additional unnecessary stress that detracts from the overall growing experience.
Tip: If you’re popping seeds from a rare pack, don’t pop the whole pack. Or, pop a different pack entirely if you are truly concerned with losing something special.
9. Preventative IPM Is Your Friend
An ounce of prevention is worth a pound of cure, and photos allow you to keep at it until flip.
With autos, some applications must be ceased once preflower begins to avoid unwanted residuals on final material.
Unlike autos, photos do not go through veg and preflower simultaneously, and you control when the flowering process begins.
This allows you the freedom to maintain consistent IPM applications until you’re ready to flip, ensuring the cleanest starting point for your flowering plants.
10. Plan For ~4 Months From Seed to Smoke
Depending on your genetics, you need to account for time for veg, flower, dry, and cure, and this will take longer than autoflowering varieties.
With photos, you need to plan for 5-6 weeks of veg from seed to flip, followed by 8-10 weeks for flower. (More than 6 weeks of veg can result in plants that are too large for an indoor grow.)
Then, add 1-3 weeks for dry time, and 2-4+ weeks for curing.
11. Top and Train Your Photo Plants.
Use the control photos give you to get the most out of your space and plants.
Photos are less sensitive to stress and shock than autos, and have the ability to recover during extended veg cycles as needed.
This allows you to top, supercrop, bend, and train plants to fill your space more effectively, getting more out of each plant and your grow as a whole.
12. You Can Clone Photos to Re-Run the Same Plants
Yes, it’s true, you can keep a photoperiod plant indefinitely.
It’s how some of the most famous cannabis genetics have remained around for decades.
If you are comfortable in your grow and are looking to learn advanced ways to keep plants around, cloning is an option.
Cloning is a great way to keep favorites around when seeds may no longer be available.
Bonus: Cloning also allows you to observe expression changes as plants age (compared to those grown from seed). Many find clones offer nuanced resin and morphology differences.
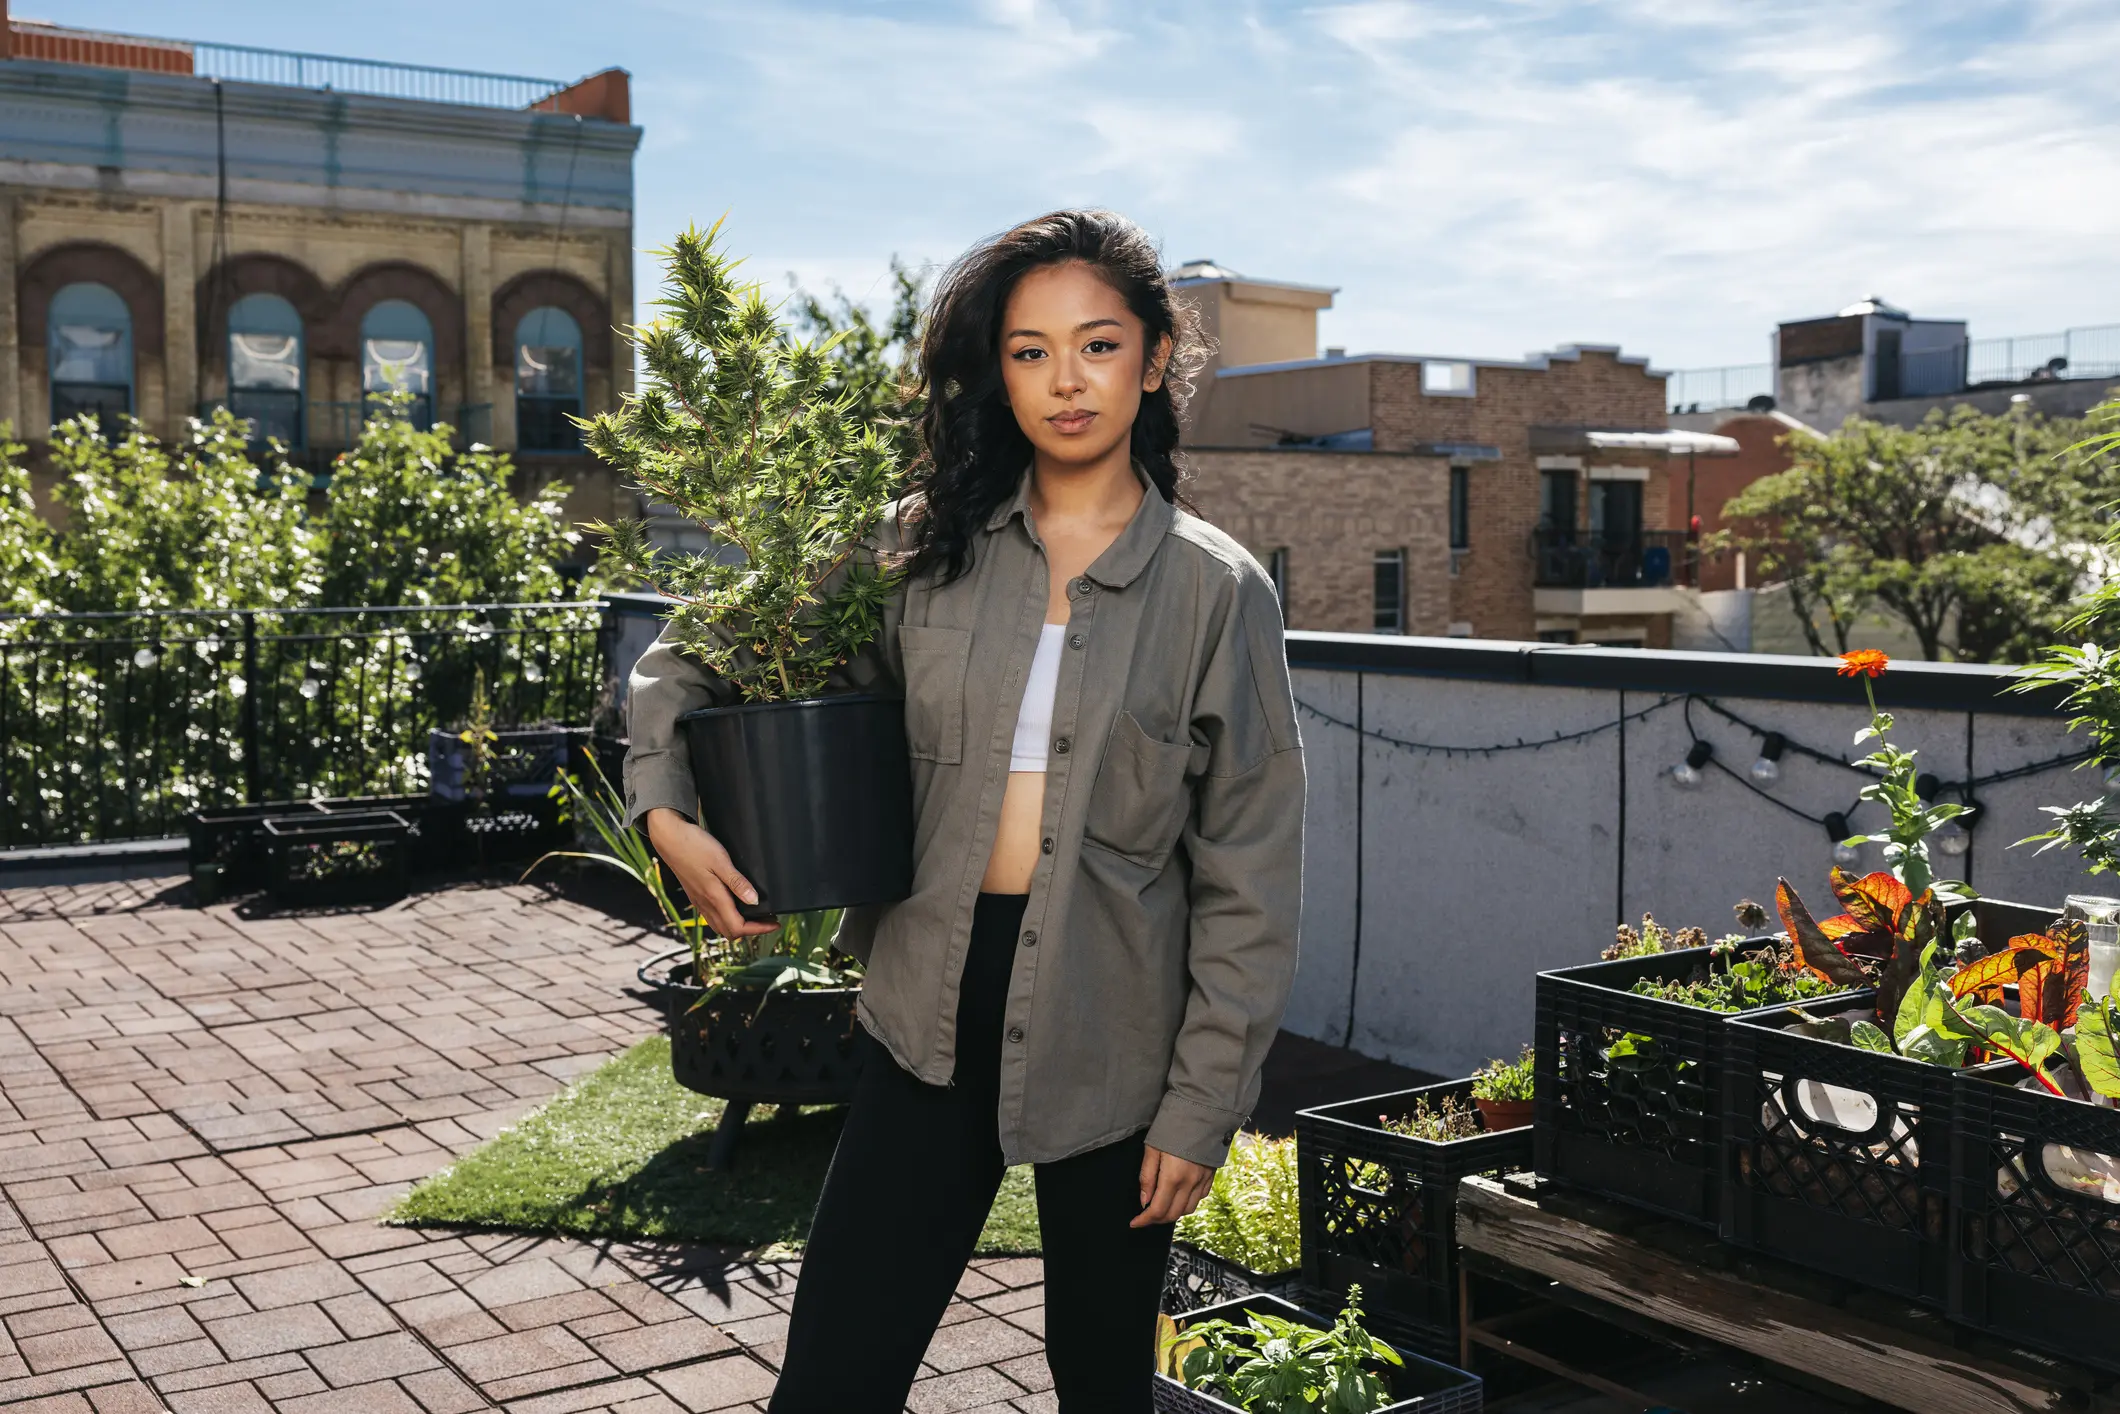
Photoperiod cannabis plants give you the most control over your grow—from seed to harvest.
Remember, the biggest advantage you have with photos is your ability to completely control the plant’s lifecycle, giving you flexibility to adapt as needed, and the option of genetic preservation.
Keep these tips in mind during your next grow to get the most out of your photo seeds.
READY TO GIVE PHOTOS A TRY?
Pop a pack of Feminized Photoperiod Seeds
by Happy Valley Genetics for your next grow!