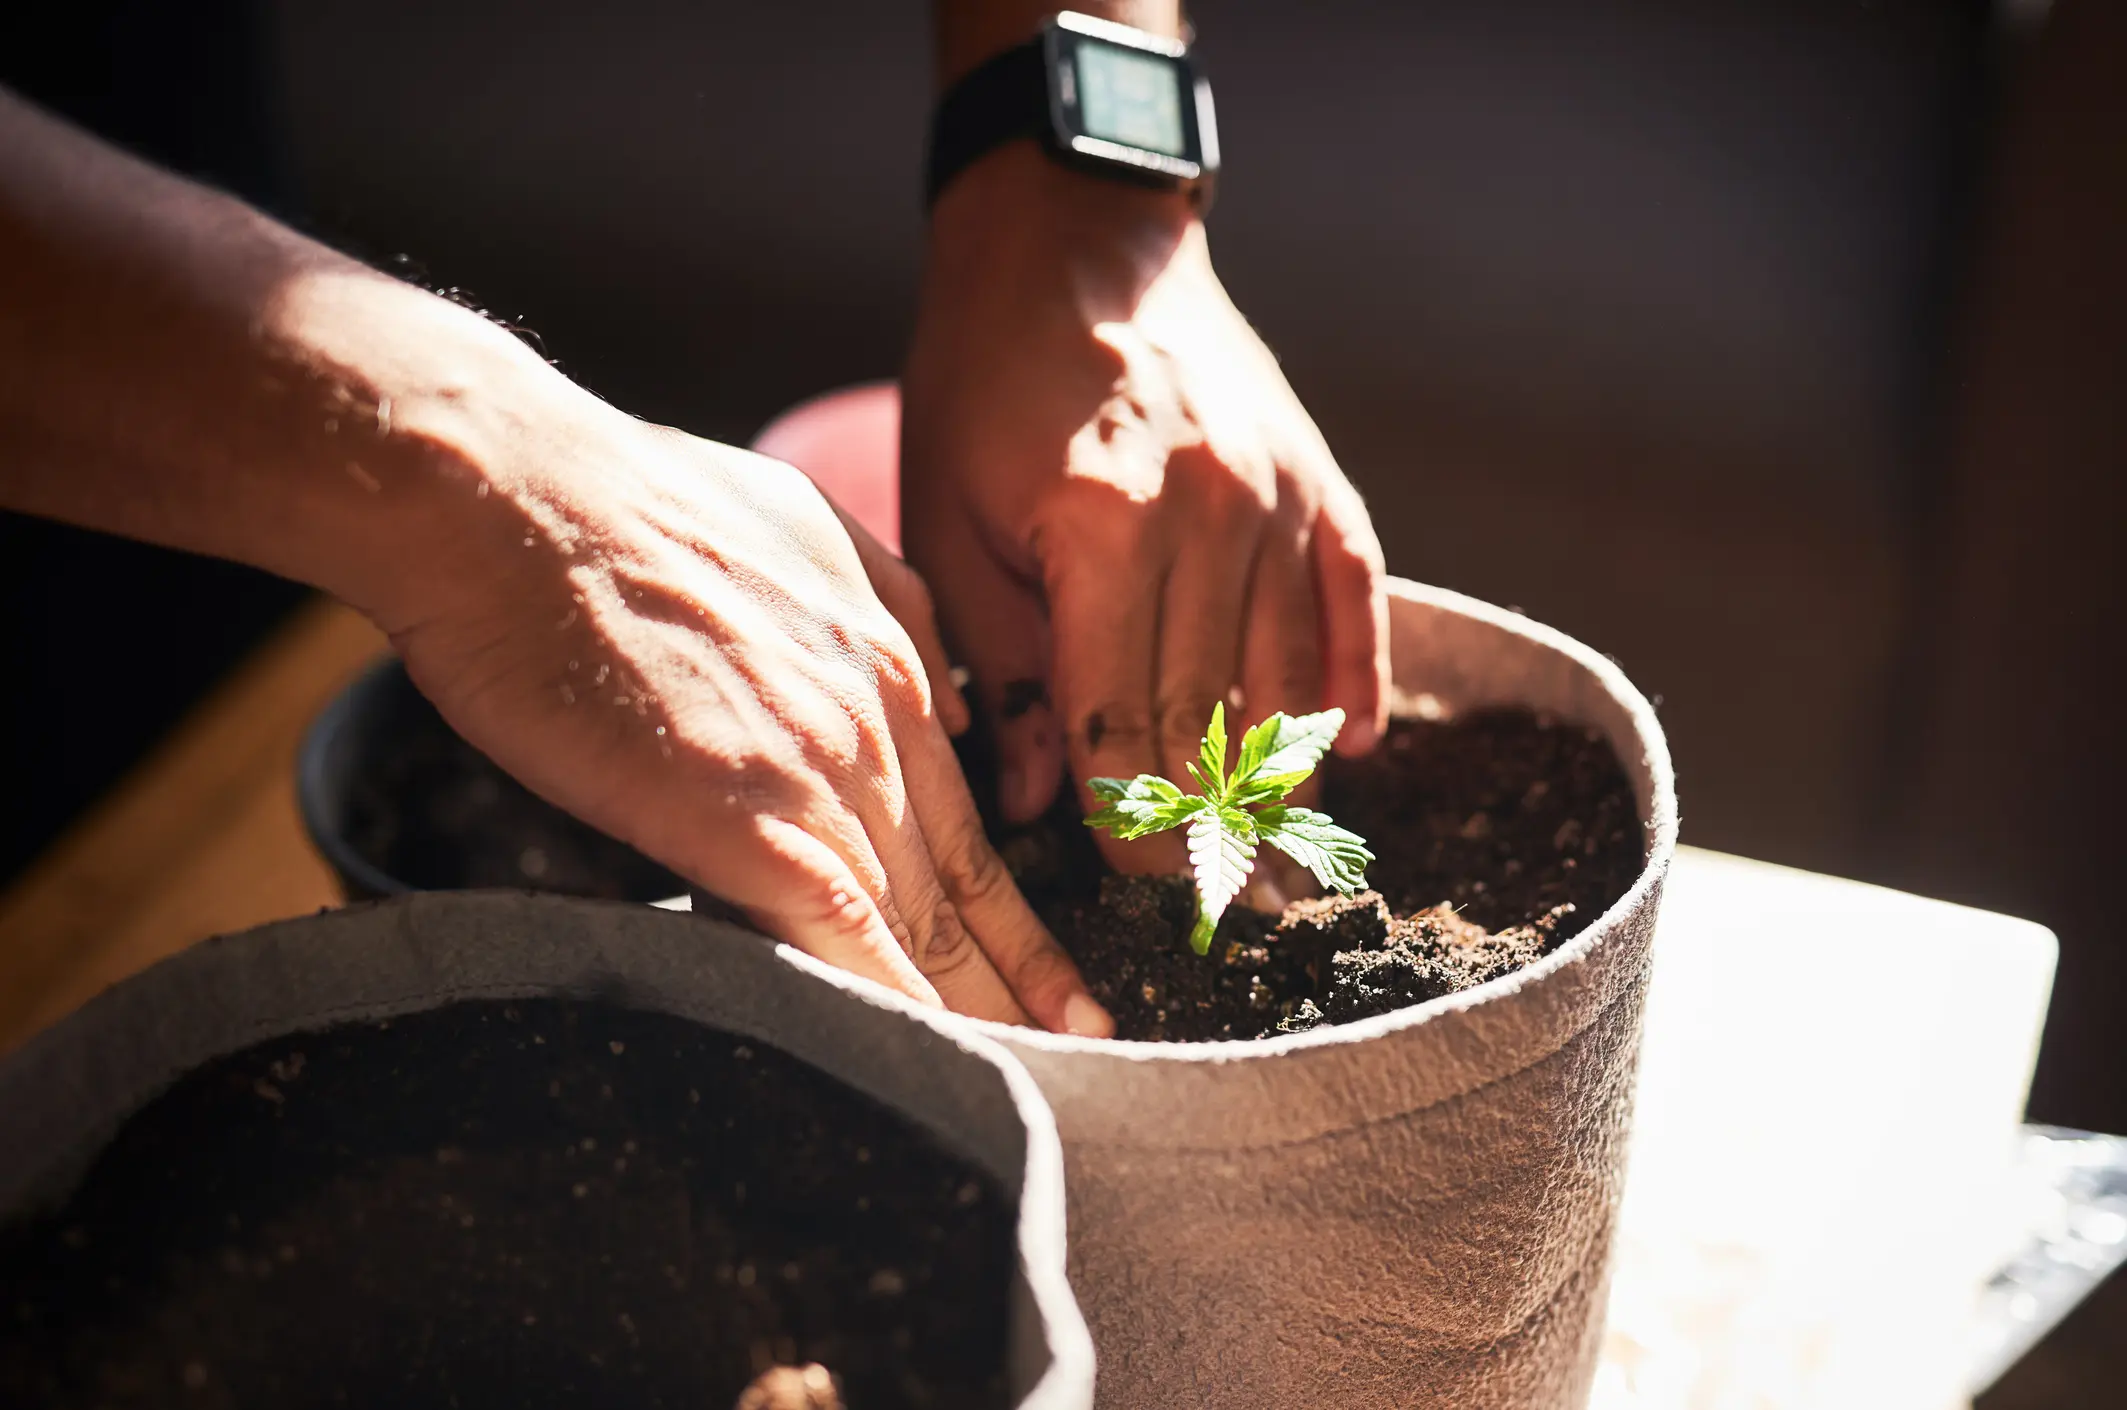
Harvest is a pivotal moment in your journey as a cannabis grower.
Harvest marks the culmination of weeks of care, patience, and learning.
For first-time growers, harvest is both exhilarating and nerve-racking—screwing it up at the last second would mean wasting all of that effort.
Whether you’re growing a fast autoflower or a traditional photoperiod, knowing when and how to harvest is crucial for getting the best quality buds to enjoy when you’re done.
This guide will teach you how to harvest cannabis plants properly from beginning to end.
Knowing When to Harvest Cannabis Plants
The most common question I get asked by new growers as they near the end of their first grow is “How do I know when my cannabis is ready to harvest?”
Determining the right time to harvest is crucial for getting the most out of your cannabis.
Harvest too early, and your buds may not pack the punch you’re looking for. If your flowers aren’t given enough time to ripen, they won’t have the ability to fully develop the cannabinoids, terpenes, flavonoids and more that are responsible for the effects when consumed.
On the other hand, harvest too late, and the plant can overripen, losing some of its essence as valuable plant compounds begin to degrade. For some varieties, the window is forgiving, and you can harvest any time within a few weeks. For others, you have to pay close attention as the ripening window can be as short as a few days.
There are a few key indicators to look out for:
- Stated Timelines: Start with the cannabis breeder’s recommendations for your strain’s flowering time, but remember, these are guidelines, not rules.
- Pistil Recession and Color Change: Watch as the pistils (long hairs) recede into the buds and change from white-yellow to orange-red.
- Trichome Color Change: The color of the trichomes (the tiny, globe-like resin glands on the buds) will transition from clear to cloudy to amber, indicating maturity and potency levels.
How to Harvest Cannabis Plants
Harvesting cannabis can be simplified into 4 steps: Prepare, Harvest, Trim, and Dry & Cure.
Let’s break down each step:
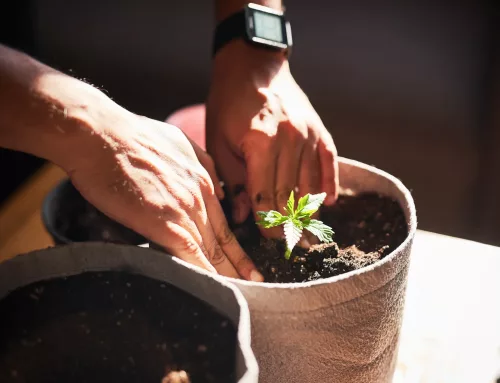
Prepare
Preparation is key to a smooth harvesting process. You have to know where you’re going to dry your plant before you can start chopping. A grow tent, spare room, or closet works well, provided it’s clean and minimally disturbed. Then, make sure you have all the necessary supplies on hand, including: sterile scissors, isopropyl alcohol for cleaning, hangers or drying racks, and bags for trim.
Pro Tip: Have a camera on hand to capture your hard work. Get full shots of the grow and up-close photos of the buds. Be proud of the flowers you’ve grown.
Ways to Harvest: Hanging Whole Plant To Dry Vs Branches
Most growers air dry their crops in one of two ways: whole plant or branch.
Whole Plant Hang: Chopping at the base and hanging the entire plant upside-down. This method is praised for its ease and the gradual moisture release it allows.
Branch Hang: Cutting and hanging individual branches. Branch hanging can lead to a faster, more even dry.
The decision is up to you. Play around with it from crop to crop and see what works best for your needs.
Pro Tip: I prefer to branch hang. It lets me have evenly sized sections of the plant for a more even dry, and I worry less about mold developing in big leafy pockets.
Wet Trim vs Dry Trim
Before you start chopping, you’ll need to know if you’re wet or dry trimming.
Wet Trim: Trimming fresh plant material. It’s easier but can damage trichomes.
Dry Trim: Trimming after the plant has dried. Dry trimming can preserve trichomes but requires more effort.
The main consideration here is your trichome heads.
You worked hard to farm this valuable, cannabinoid- and terpene-containing resin, and your trim method can impact how well they are preserved through harvest and post-harvest processes. When trimming, your goal is to avoid rupturing these trichome heads to avoid exposing volatile compounds that could evaporate from your harvests (literally) when heads are ruptured.
Pro Tip: I recommend a hybrid approach, where large fan leaves and anything that isn’t resin-touching are removed during harvest and finer trimming is done post-dry.
Drying & Curing Cannabis
The #1 mistake growers make post-harvest is rushing the drying process.
Try to dry too fast, and you can damage the resin and plant material. Or worse, you trap moisture that leads to moldy weed.
On the other hand, let your buds dry too long and they’ll lose the “oomph”—the flavors, aromas, effects—and turn to powder when crumbled.
In general, drying takes between 1-3 weeks for most growers in most situations. The reason for the range is that every plant and drying situation is different. Time varies drastically depending on plant size, regional climate, and even the genetics themselves, with some being more prone to dense flowers that require more time to dry than light, airy buds.
Once dry, buds can be packaged for curing. This typically takes place over weeks and months as the moisture content of your buds stabilizes, and compounds within the plant evolve.
Properly drying and curing your cannabis is vital for preserving the quality you’ve worked hard for since you planted your seeds.
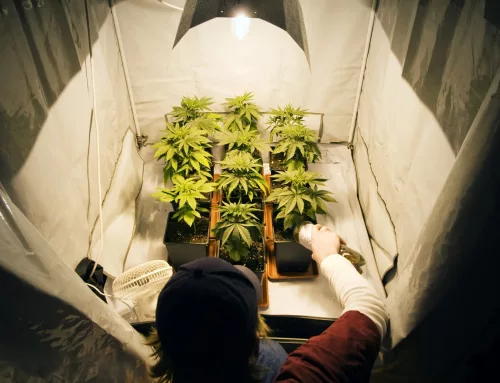
Pro Tip: Hang your plants or branches in a dark, undisturbed area with filtered air to avoid contamination and smell issues. Then, once dry, use glass jars and “burp” the jars periodically to release excess moisture and avoid mildew buildup.
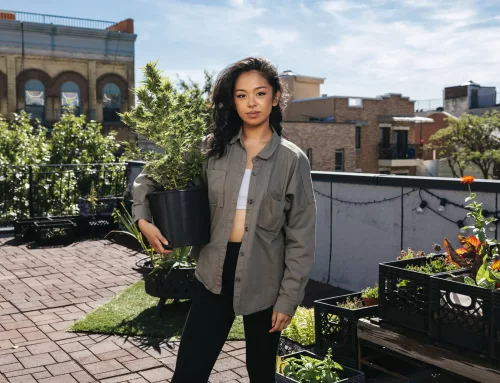
Start Growing with Happy Valley Genetics
Planning your first harvest? Congratulations! Celebrate this milestone and maybe reward yourself with some new seeds to pop?
Just learning before you give it a go? You’re 4 months—or less—from your first harvest if you popped seeds today.
Whatever your grow journey may be, Happy Valley has some incredible new genetics for home growers to elevate their harvest. Ready to give it a try?
Explore Feminized Autoflower and Photoperiod Seeds today!