Setting up an indoor grow room is one of the most exciting projects for a home grower.
However, shopping for the right supplies and indoor grow equipment can be daunting.
Below, I’ll break down each of the main items you need to create a successful indoor grow room, including my recommended setup at the end designed to let you perpetually harvest every 4-6 weeks.
Whether you’re a beginner grower looking to upgrade from your first tent to a larger cannabis grow setup, or a connoisseur who’s considering investing in a small indoor cannabis grow, this comprehensive list will cover everything you need to get started and grow cannabis at home.
What You Need for an Indoor Grow Room
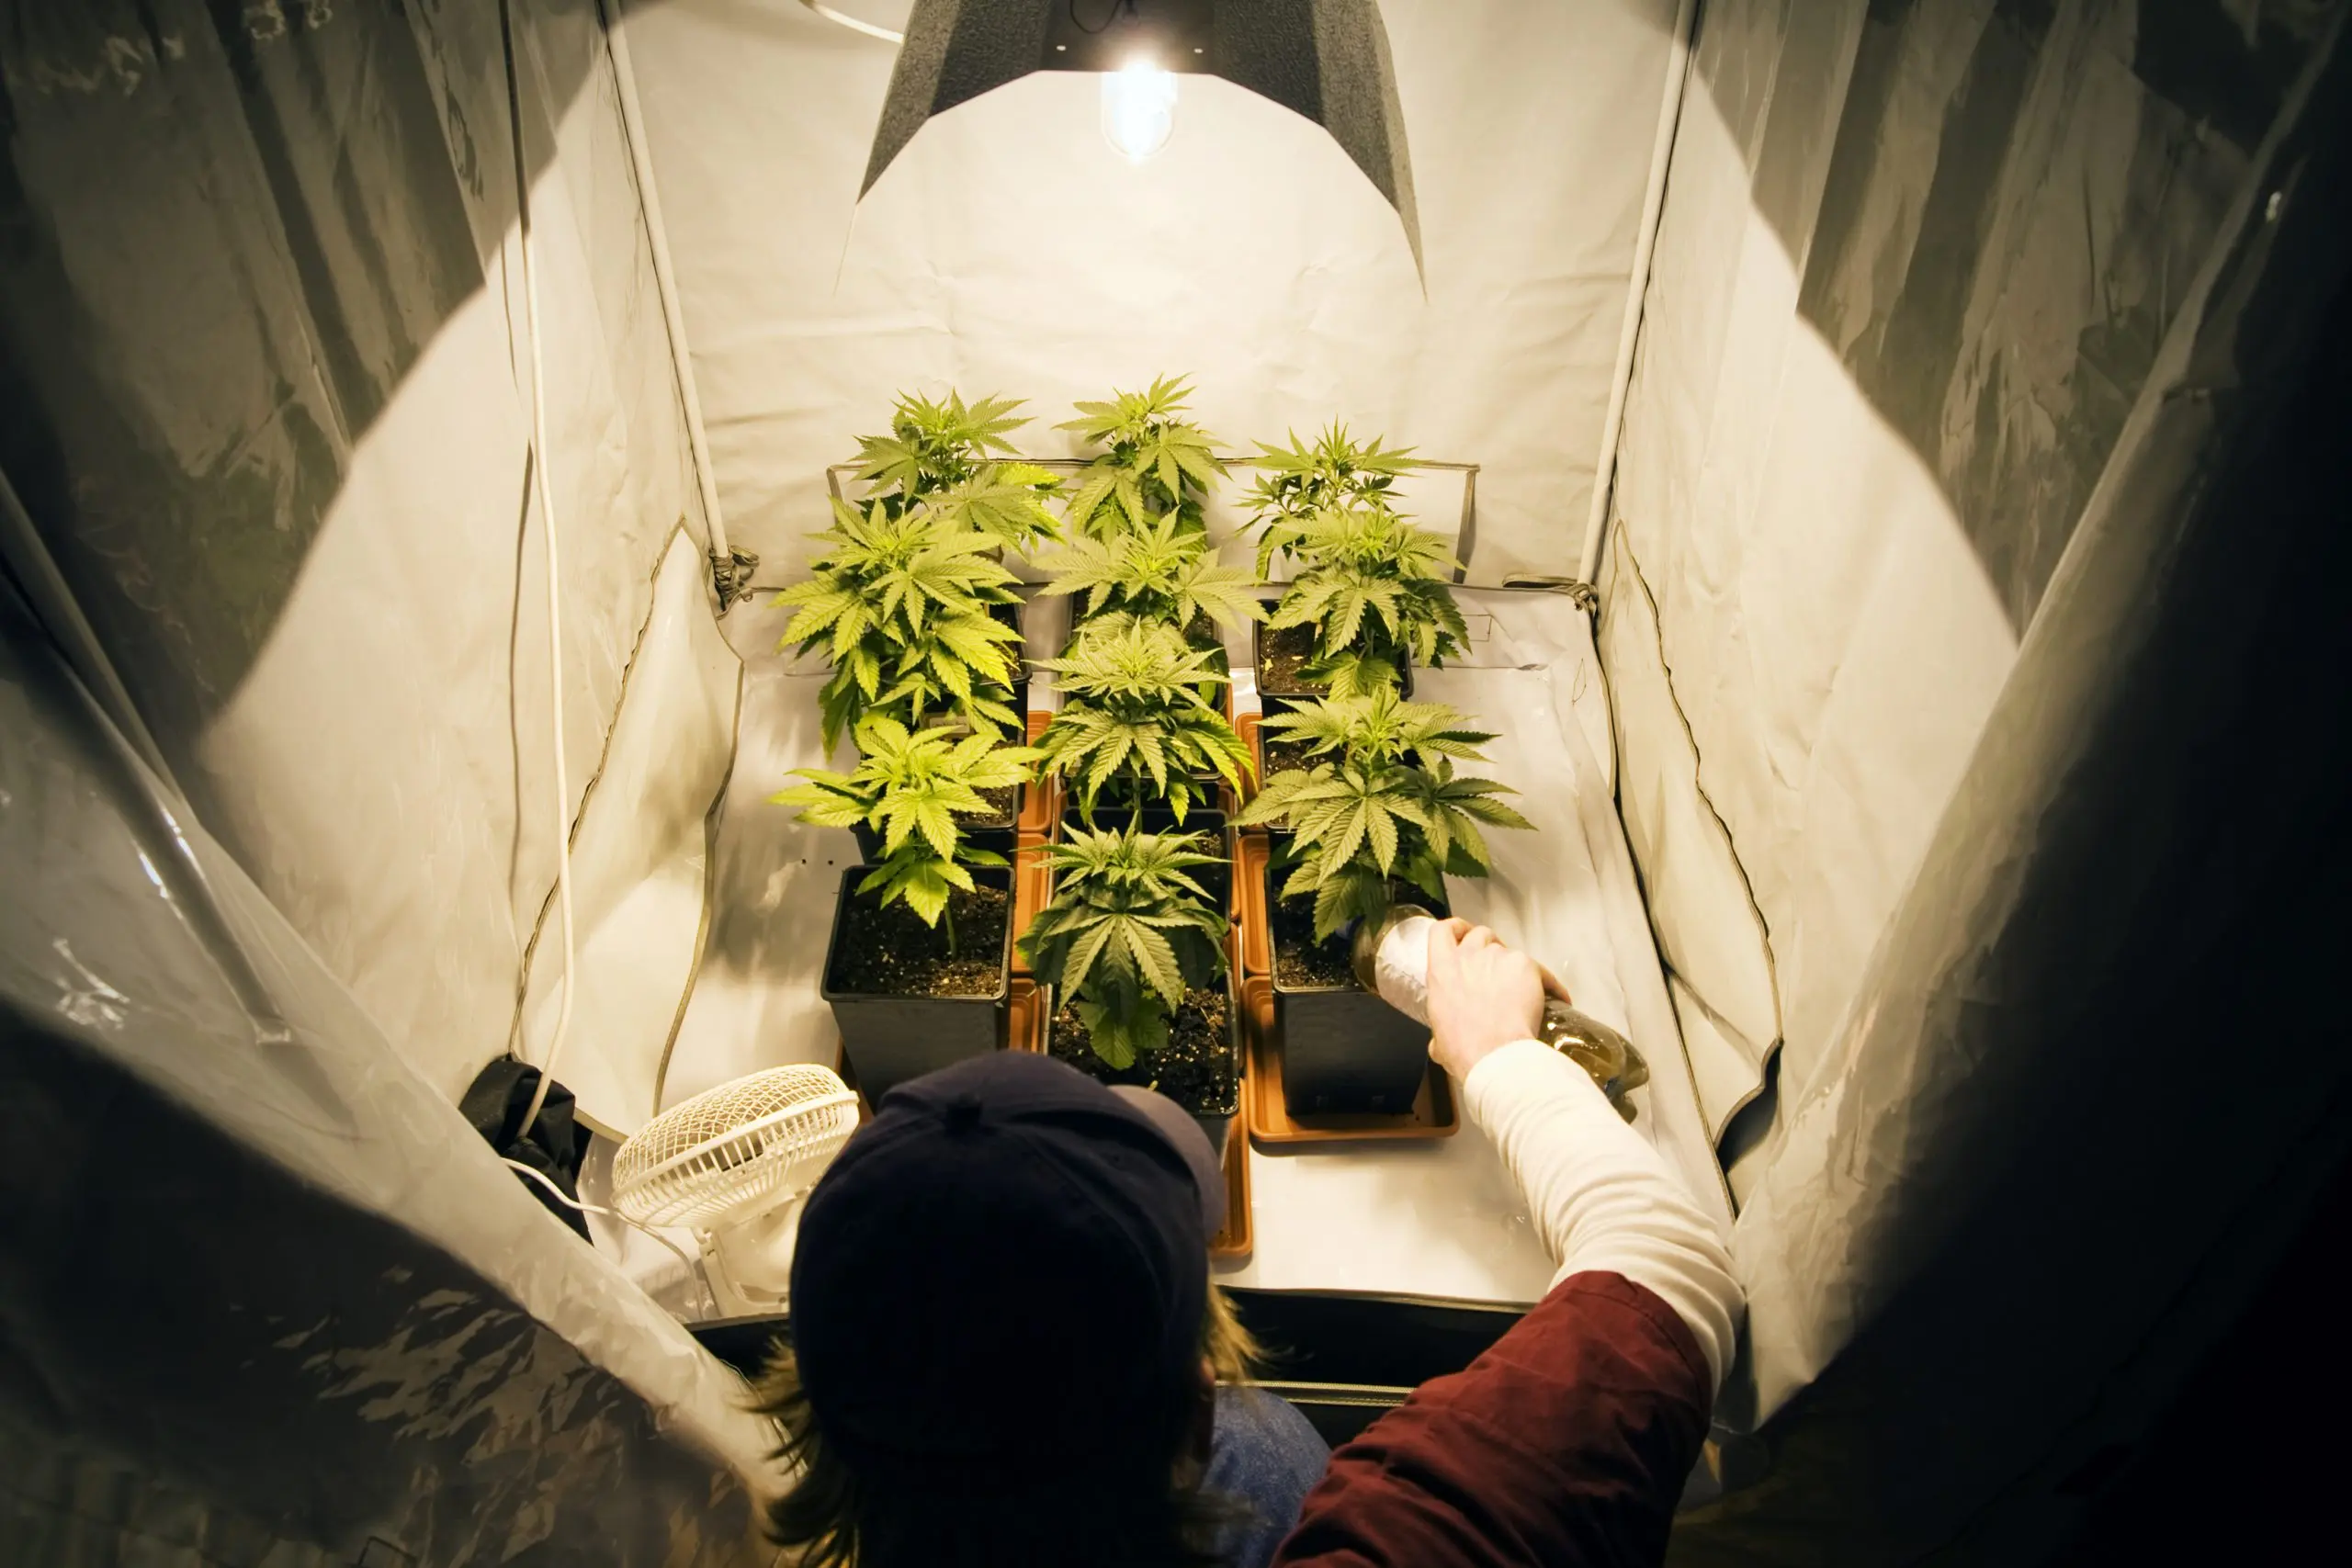
1. Grow Tent(s)
A grow tent provides a controlled environment for your cannabis plants, offering an enclosed space with reflective interior walls to maximize light efficiency.
- Considerations: When choosing a grow tent, consider the size and material quality.
The size should accommodate the number of plants you plan to grow as well as the physical space you have available, while the material should be durable and light-proof.
Keep in mind that if you want multiple tents, you may need smaller tents to fit the same size grow room. - My Recommendation: I’ve been really happy with my 4×4 Gorilla Grow Tents. I have the Lite tent and the Pro version, and they just released a brand new version that improves upon the original design. The tents are durable and have lasted me for many years.
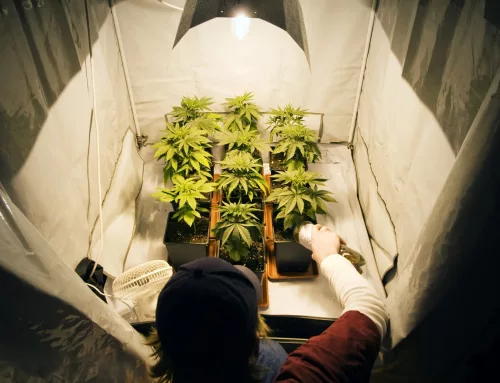
2. Grow Lights
Grow lights are the “sun” in an indoor grow. They are crucial for indoor cannabis cultivation, providing the necessary light needed for growth and photosynthesis.
- Considerations: Your three biggest concerns are footprint, quality, and intensity of light. Unless you’re already a lighting nerd, buying one of the bigger, more reputable brands is an easy shortcut that avoids learning lighting curves and technical specs. But you’ll want to pay attention to the recommended coverage area or light footprint. Make sure you’re not overbuying for your space (there is such a thing as too much light). For most indoor home growers, I recommend LED lighting over traditional HID and HPS unless you’ve got the A/C and space to support the extra heat and equipment needs.
When shopping for lights, I also look at the manufacturer’s reputation, specifically their customer service.
The difference between a cheap light and a higher quality option will be the support you receive when you need it most. At a certain point, many lights are similar when it comes to the diodes used and the quality of Select lights based on the type (e.g., LED, HPS) and their light output (measured in lumens or PAR). LEDs are energy-efficient and produce less heat, making them ideal for small spaces. - My Recommendation: Until recently, I was a Horticulture Lighting Group (HLG) purist. I currently run four HLG LED lights and have had my fair share of success with these lights. Plus, when my dimmer shorted out and my lights were doing the secret disco strobe party setting, HLG mailed me new dimmers and handwritten instructions for replacing the controller at no cost. I highly recommend their FR and Diablo models.
If you’re looking for a more affordable option, or one that plays nicely with other aspects of the grow, the ACInfinity LED Grow Lights are a great option as well. I just got one of these in my 2×4 setup, and it’s been rocking consistently for the past few months.
3. Grow Nutrients
Nutrients are essential for the healthy growth of cannabis plants, providing the necessary minerals and elements. Like an athlete needs proper nutrition and supplements, plants need the right balance of inputs for the best results.
- Considerations: There are way too many options to choose from when it comes to nutrients. And, unless you’ve dabbled in plant science, it will be hard to tell them apart. For starters, make sure you’re choosing nutrients specifically formulated for cannabis (as opposed to grabbing a bag of plant food at the hardware store). As a beginner, start with something you can afford, and something that’s easy to use.
- My Recommendation: For simplicity, it’s hard to beat single-application soil amendments like GrowDots. These Dippin’ Dots lookalikes get poured into your grow container and mixed in with the soil. Then, it’s “just add water” for the rest of your grow (though some added beneficials and microbials won’t hurt). If you’ve got the budget and plan to put some rev in your engine, New Millenium is a top shelf product line that delivers great results for production and pheno hunting.
4. Integrated Pest Management (IPM)
The bigger the grow, the more IPM matters. While they aren’t necessarily “required,” investing in IPM tools will help prevent and manage pests and pathogens in your grow room.
- Considerations: The biggest mistake most growers make is using whatever they’ve got on hand to deal with whatever problem is currently presenting itself. Make sure you are reading the labels of the products you use and only applying products and treatments specific to your situation. Sterilizing agents aren’t going to kill bugs, and pesticides won’t get rid of molds and mildews. Make sure you are regularly scouting—inspecting your plants for any signs of issues or threats—to maintain cleanliness to prevent pest problems.
- My Recommendation: Every grower that’s serious about IPM should start with a sanitizing or sterilizing agent. I like ZeroTol 2.0 or Sanidate 5.0 from BioSafe. While you’re there, I’d also grab TerraGrow for bacillus and OxiPhos for inducing your plants’ systemic response to threats, keeping it on guard and ready to defend as needed. If you’ve got extra budget, AzaGuard is an incredible resource for fighting off soft-bodied pests like fungus gnats as well.
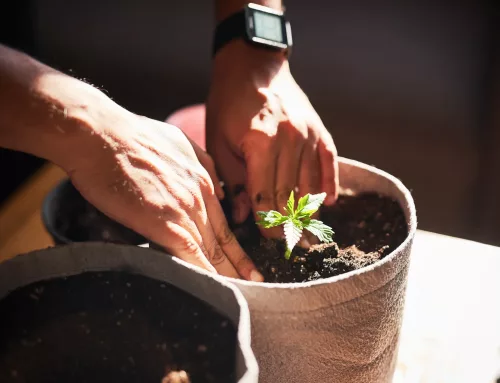
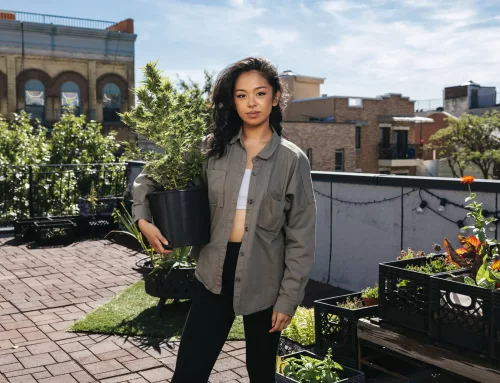
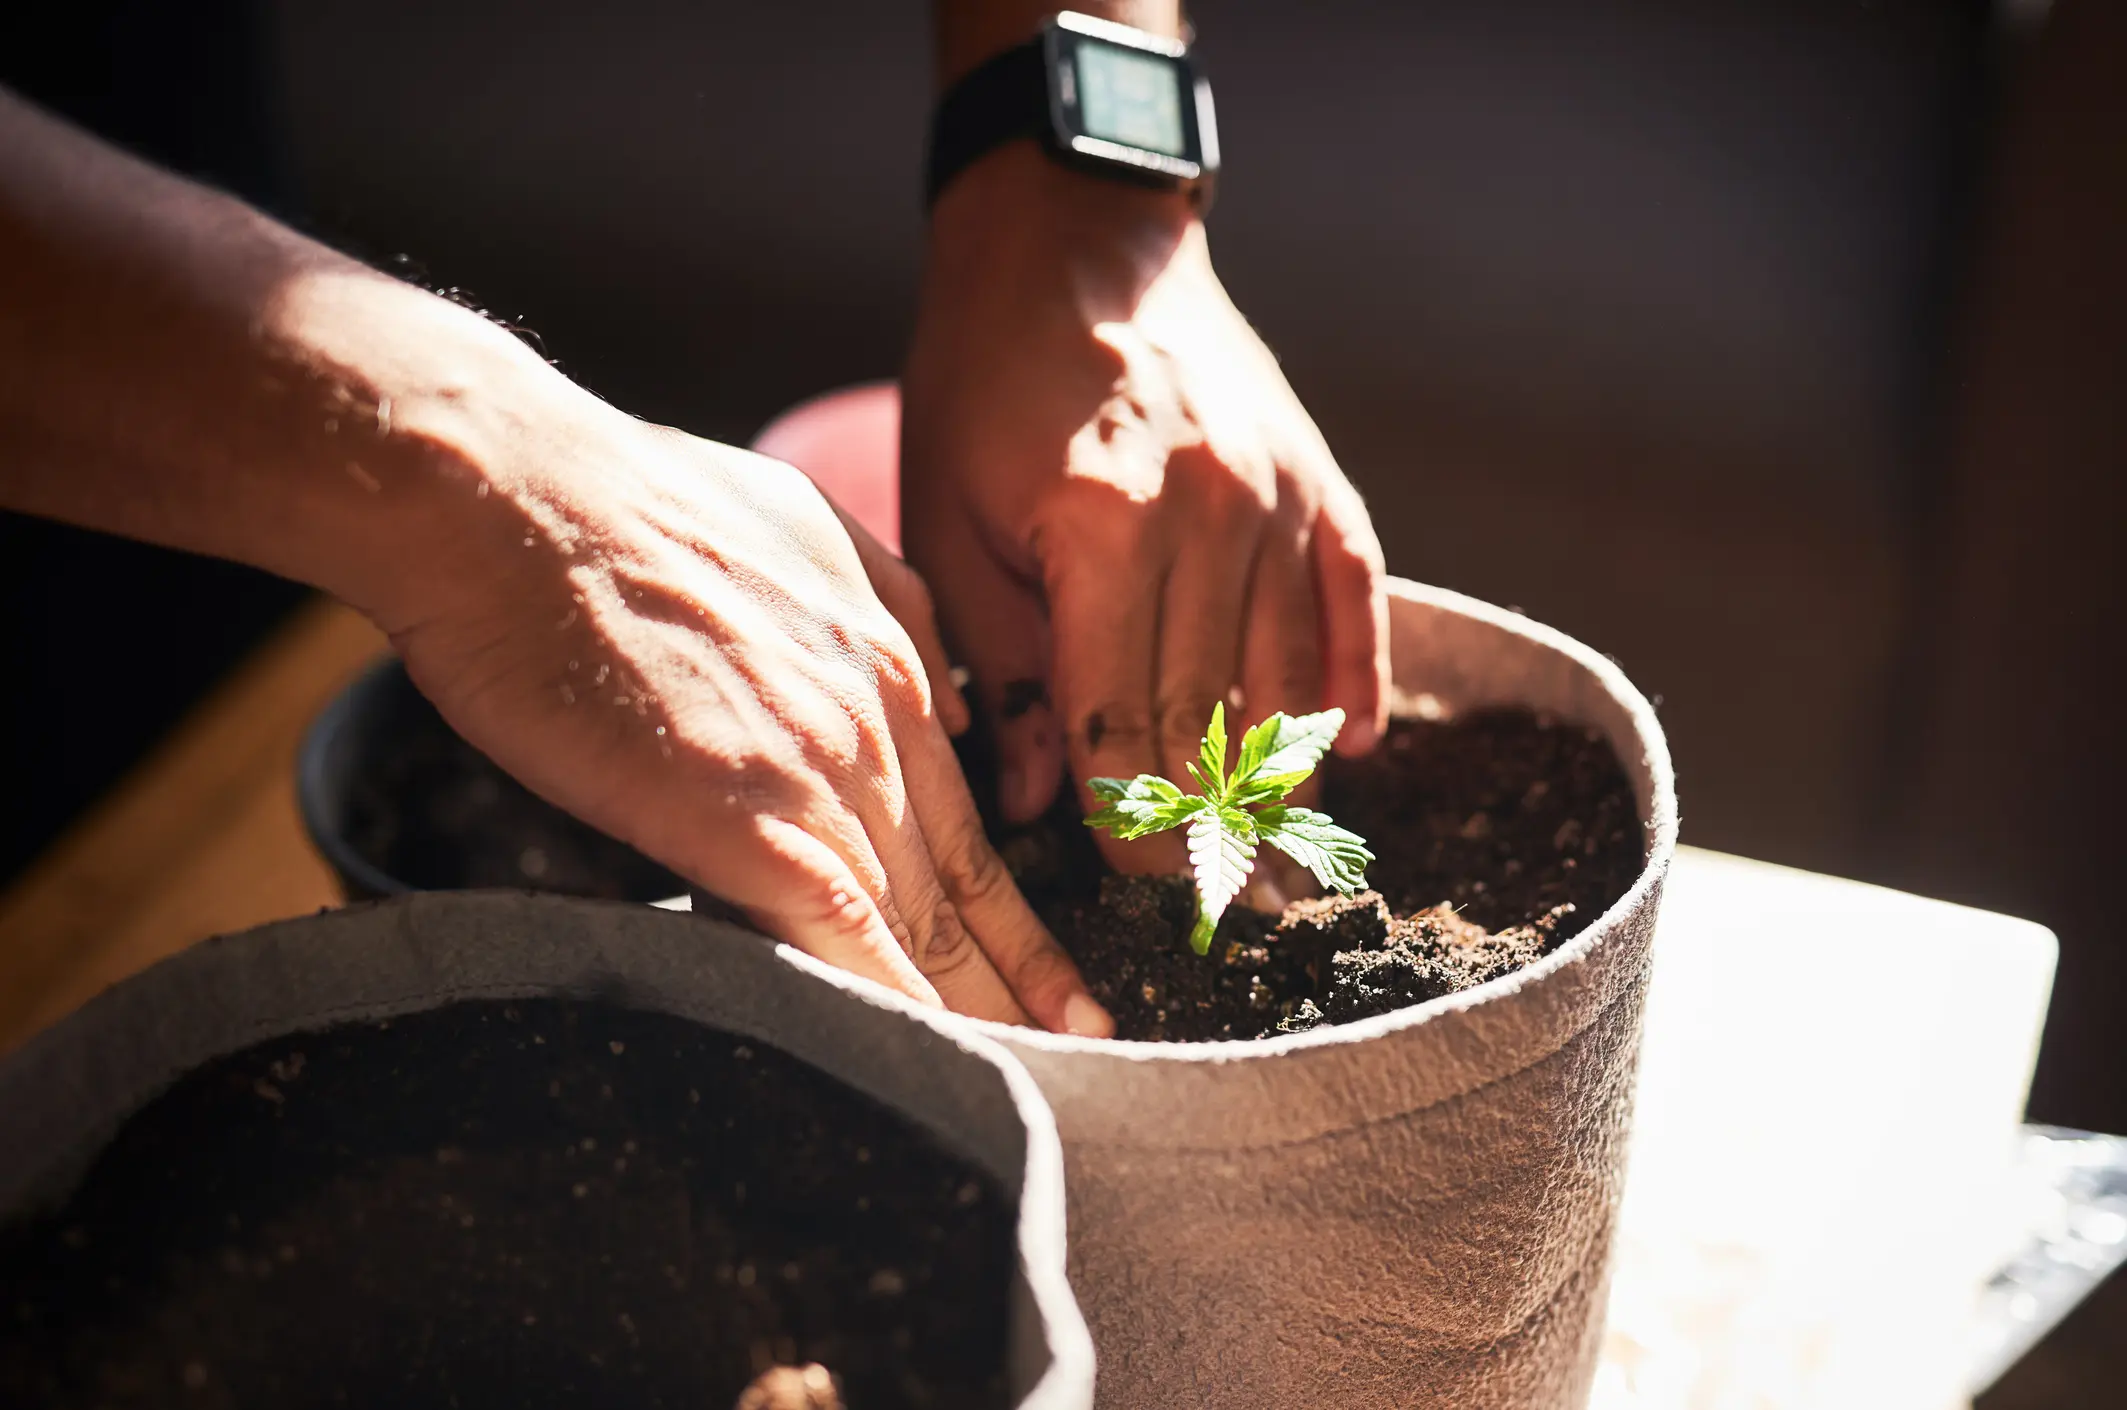
5. Containers (Plastic or Fabric Pots), Saucers & Risers
Containers hold the growing medium and support the plant’s root system.
- Considerations: If you’re growing photoperiod plants, you can start small and transplant up as needed. If you’re growing autoflowers, it’s recommended to start in your intended final pot size. Choose the appropriate size for your space. Fabric pots promote better root aeration, while plastic pots are easier to clean and reuse.
- My Recommendation: I swear by Smart Pots fabric pots. I’ve been using them since I started growing and enjoy their quality as well as the fact that they are Made in the USA. I typically use 3-gallon, 5-gallon, or 15-gallon Smart Pots for my final flowering pots, and use plastic pots to work my way up from seedling to their final Smart Pot.
6. Substrate/Growing Media (Soil, Coco, Rockwool, Hydroponics)
Most non-growers will just say “soil” but it’s the stuff you are actually growing in, whether it’s soil, coco, rockwool, or some other material. The growing medium provides the foundation for plant roots to anchor and access nutrients and water.
- Considerations: Select a medium based on your growing style. Soil is easy to use and forgiving, coco coir offers excellent water retention, and rockwool is great for hydroponic setups.
- My Recommendation: I recommend soil for new and beginner growers due to its forgiving nature. You’ll have more cushion for watering as well as nutrient and pH buffering with your feeds as you learn the ropes of growing. But, if you aren’t up for buying bags of premixed soil because you’re afraid of what pests might be hiding in the midst, you could grab a bag of shredded coco coir, some perlite, some vermiculite, and a little bit of bat guano and/or earthworm castings (EWC) and blend up your own mix. If you’re going that latter route, find a recipe from someone who has been doing this for a while; you’re not a chef yet.
7. HVAC
Heating, ventilation, and air conditioning (HVAC) systems regulate the grow room’s environment. For most basic indoor grows, this includes your fans (inside and outside of the tent), ducting, and filters. If you’ve got a more advanced setup, or your environment is less controlled, you may also need heating and air conditioning, or humidity control (see #8).
- Components:
- Fans (Inside Tent): Ensure proper air circulation to prevent mold and pests. These help circulate the air to avoid stagnant pockets where problems pop up.
- Inline Fans (Exhaust and Intake): These fans are installed inline with your ducting, either sucking air out of the tent or pushing air in. This is used to ventilate your tent, maintaining optimal temperature and humidity levels by controlling airflow and bringing fresh air to your plants.
- Filters (Carbon/HEPA): These are used to remove odors and airborne particles. A HEPA filter is great for your intake to reduce the amount of dust and contaminants that make their way into your tent. Carbon filters are an excellent option for controlling smell on the exhaust end, helping you grow discreetly.
- Ducting: Connect fans and filters to direct airflow efficiently.
- My Recommendation: If you are just needing some basic equipment, HydroFarm 6” inline fans are where I and many other growers start. You can get your ducting and internal fans (clip-on fans, oscillating fans, etc.) online or in big box hardware stores in most places. If you want something a bit more advanced, I recommend AC Infinity fans. I first started using them years ago because of the ability to control fan speed, but now they connect to the entire AC Infinity ecosystem, as well as their controllers, which makes it easy to integrate into your setup and automate as needed. Plus, they are some of the quietest fans you can get for a home grow if you’re concerned about your grow’s noise level.
8. Humidifiers/Dehumidifiers
These devices control the humidity level in your grow room, crucial for plant health and preventing mold.
- Considerations: Choose devices based on the size of your grow space and your climate. If you live in a dry climate and aren’t running many plants, you may need to add humidity to your space. On the other hand, if you live somewhere humid or are running a multitude of plants, you’ll likely need a dehumidifier to keep conditions stable. It’s important to shoot for stability over everything, aiming for less than a 10% swing in a 24 hour period.
- My Recommendation: Most hobby scale growers can get away with something like a basic AirCare home humidifier that holds a few gallons and keeps things above 40% humidity. I keep this in my lung room (the unused area between grow tents) and let it turn on automatically as needed during dry season or when my home heat is on full blast (which dries things out).
If you’re going the other direction and needing to dehumidify, I’ve had troubles with smaller units as they fill up quickly. Depending on your needs, Quest makes some great humidifiers for modestly-sized grow rooms.
9. A/C & Heat
Temperature control is vital for cannabis plant growth, affecting photosynthesis and overall health.
- Considerations: In most cases, you’re going to be able to get away without needing an air conditioner or heater specifically for your tents. As long as you keep your home where your grow room is between 68-75ºF, your tents should stay stable enough with the proper ventilation. Your biggest consideration for these units is the BTU rating. Most units also describe the space they are designed to condition. Try to align that with the space of your tent or room. If you’re going to be buying an A/C or heater for the inside of a tent, make sure it has automatic on/off functions in case it falls over or there is an issue with your power, which can create a fire risk.
- My Recommendation: Rely on your home’s ambient conditioning systems whenever possible and avoid temperature spikes. It’s better to be consistently on the cool side, than to fluctuate from cool to hot and back on a regular basis. This also saves you a significant amount of coin to invest in other grow gadgets.
10. Trellis or Support Stakes
These provide support for your cannabis plants as they grow taller and heavier with buds, while also helping you spread out your canopy of plants.
- Considerations: Trellis netting is usually made of fiber or plastic. In most cases, they are not designed to be reusable and should be discarded each cycle for cleanliness. Support stakes on the other hand can be sanitized for each cycle as long as you’re not using stakes made from organic material like bamboo.
- My Recommendation: For small plants, I like plastic plant stakes which come in a range of heights to adjust to your needs. If you’ve got larger plants, I use 3” trellis netting in my 4×4 tents, attached to a homemade PVC frame, and then swap the netting after each harvest.
11. Tools: Scissors, Pitchers, Sprayers, Plastic Syringes
Essential tools for daily maintenance and care of your cannabis plants.
- Considerations: You don’t have to buy grow-specific pitchers and measuring devices, but things like water sensors and plant scissors are made to withstand the intensity of growing, and the materials they come in contact with. Invest in high-quality tools that are durable and easy to clean. Scissors for pruning, pitchers for watering, sprayers for applying foliar feeds, and syringes for precise nutrient measurement.
- My Recommendation: Personally, I stick to food grade plastics whenever possible for my measuring cups, buckets, and containers. For scissors, I love Chikamasa but make sure you’re getting the real deal! They often get ripped off on ecommerce platforms, and it’s one of the few purchases I will drive to a grow store to buy in person.
12. Timers, Sensors, & Controllers
Automation tools help manage your grow room’s environment efficiently. At the very least, most grows will need some outlet timers for controlling your lights and some sort of hygrometer for measuring Temperature and Relative Humidity. But, if you’ve got the budget, you can also get smart sensors and plugs that tie into a main hub that controls and automates your grow environment.
- Considerations: This area of the grow can go from $10-20 to $1000s quickly. If you’re just starting, basic timers and hygrometers are all you need to be up and running. If you’d like more advanced control, or would like to add automations that are triggered by certain environmental changes, then investing in a controller might be your best bet. Just make sure if you’re going the controller route that the other equipment you’re buying is compatible. It gets expensive to have to buy adapters or eat a sunk cost because you didn’t plan ahead.
- My Recommendation: There are plenty of pro options in the space, but for the home grower, I haven’t found a better option than the AC Infinity Controller 69 Pro. I’ve been test-driving this bad boy on my 2×4 setup and it’s made me wish I had one for every area of the grow. Not only does every AC Infinity device play nicely with it, but you can access and control your grow from anywhere on your phone. Plus, if you’re growing alongside others, you can share your grow controllers so that you can look after each other’s spaces and learn from one another.
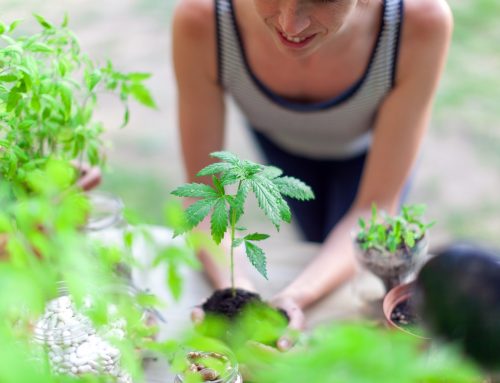
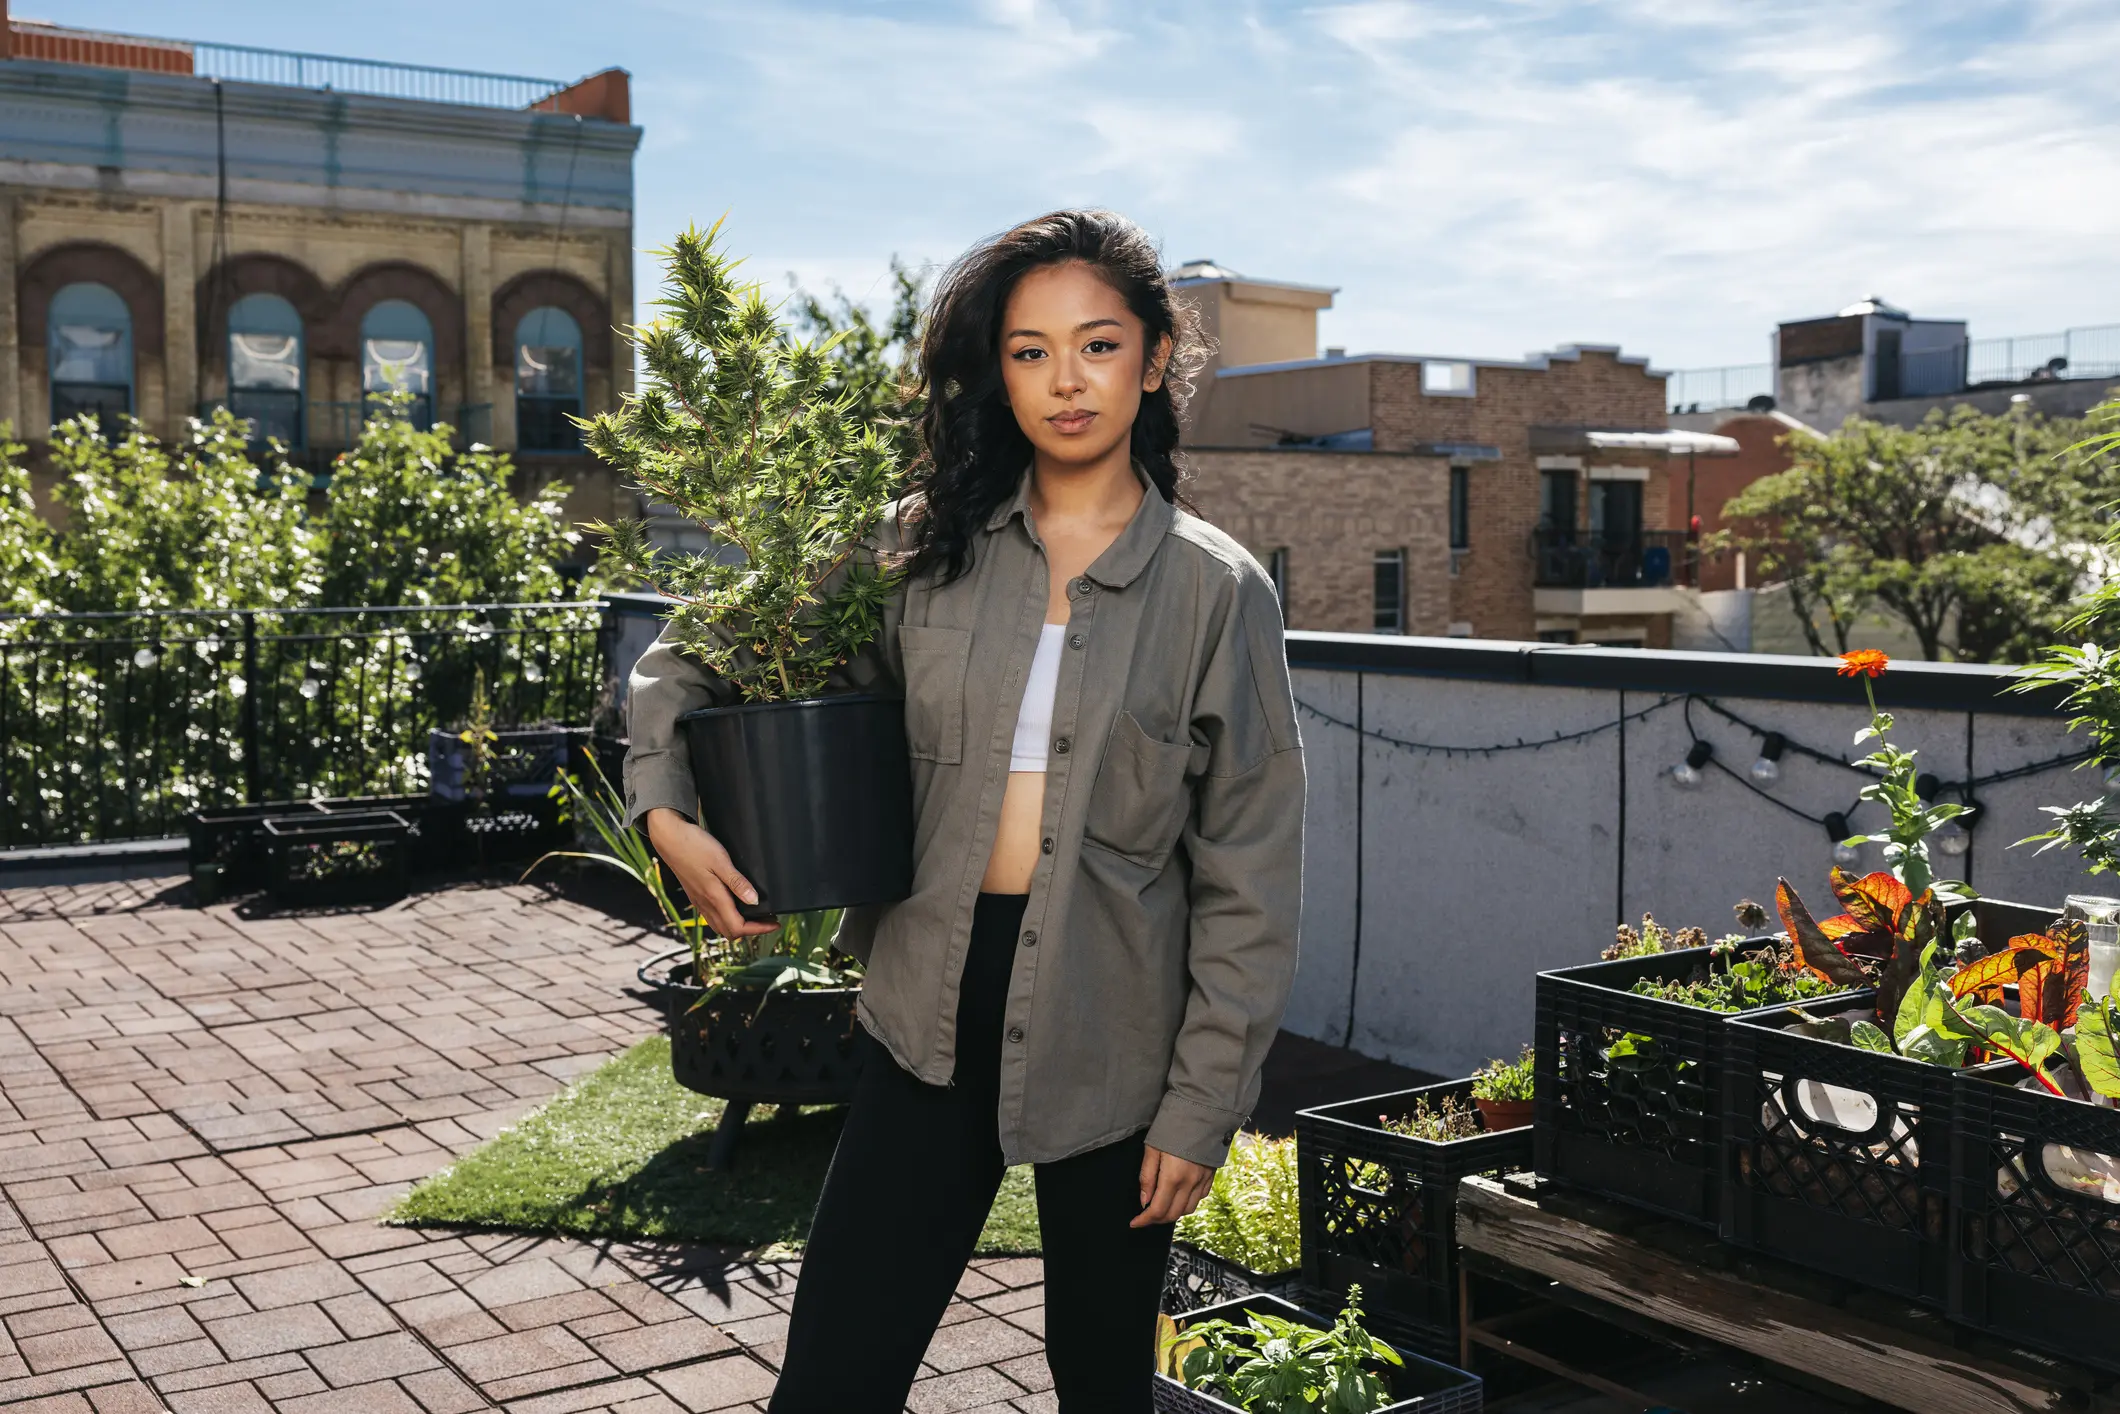
13. Genetics (Seeds & Clones)
Last but not least, you’re going to need something to grow. And that all starts with genetics.
The genetic quality of your cannabis plants determines their potential yield, potency, and resistance to pests and diseases, as well as the level of success you’ll experience throughout.
- Considerations: Source seeds and clones from reputable breeders. Happy Valley Genetics has a bunch of new gear designed for the home grower who wants to hunt for something special. Choose strains suited to your growing conditions and desired end game, whether that’s flower, extract, or edibles and infusions like topicals.
- My Recommendation: Start with autoflower seeds like Shortcut until you get the hang of things, then move on to photoperiod. I’ve personally got my eye on the new Baller’s Game feminized photoperiod packs, a cross of Melon Baller and End Game.
Ben’s Ultimate Setup
For a beginner home grower, I recommend a single tent to see how things go.
I started in a 2x2x4’ tent, but you don’t have to start that small. I wouldn’t recommend going much bigger than a 4×4’ on your first few rounds. More space plus more plants equals more potential for problems. And the bigger the grow, the bigger the problems.
Once you’ve got a handle on things and want to go from a single tent to an indoor grow room, then I’d suggest starting with:
- 2x Flower Tents (4×4 or larger): To ensure you have ample space for your flowering plants.
- 1x Veg Area (2×4 or larger): For the vegetative stage of growth.
- 1x Clone/Seedling Shelf (2×4): To start seeds and maintain clones.
This setup, with a 2:1 flower to veg space ratio, allows for continuous growing with no downtime, leading to a harvest every 4-6 weeks.
By maintaining plants at all life stages, you can maximize your space and achieve perpetual harvests, ensuring a steady supply of cannabis.
NEED RELIABLE GENETICS
FOR YOUR NEXT GROW?
Explore Feminized Autoflower and Photoperiod Seeds
by Happy Valley Genetics today!